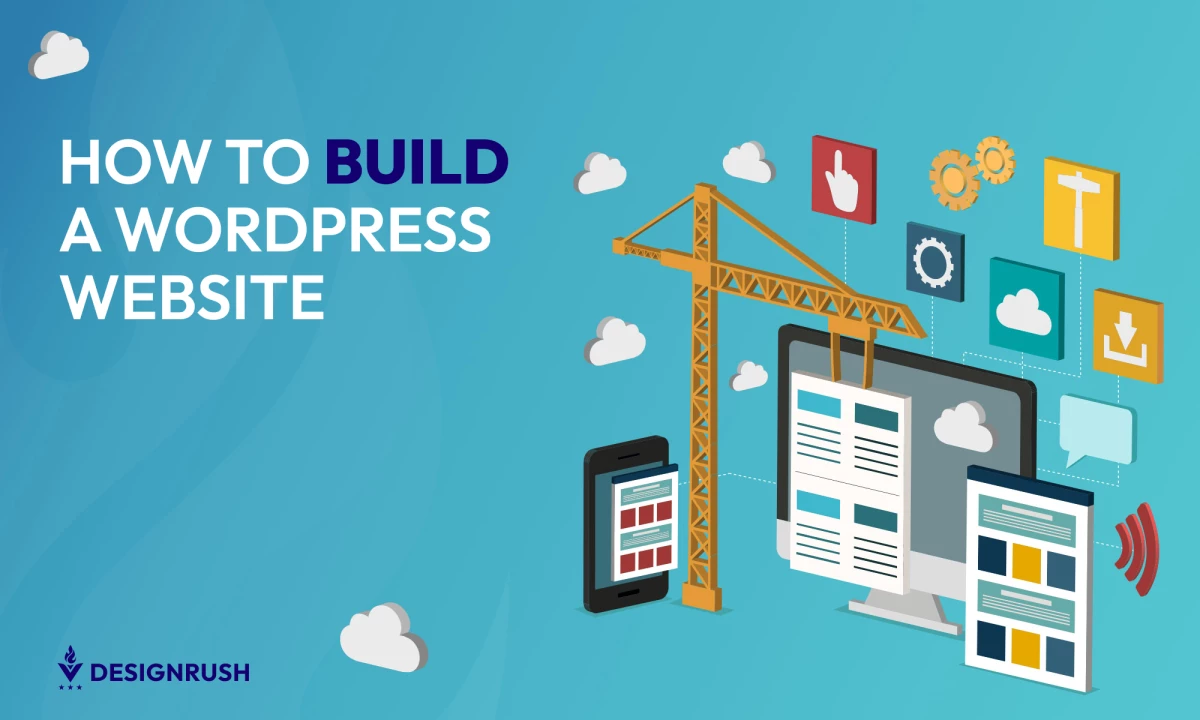
Building a WordPress website opens up powerful possibilities for businesses and brands aiming to establish a professional online presence. With WordPress, companies of all sizes can reach their audience, showcase products, and build trust. It’s a vital step for those looking to boost their visibility and digital impact.
Let’s explore the steps on how to build a WordPress website, the potential costs, and expert tips to ensure user-friendliness and optimization. Let’s get started!
What Do You Need To Build a WordPress Website?
Building a WordPress website requires a handful of essential elements that serve as the backbone for functionality, design, and user experience. Each component plays a specific role in making sure your site operates smoothly and meets user expectations.
Here are the main aspects you’ll need:
- Domain name: This is your website’s address, and it should reflect your brand. A clear, unique name makes it easy for users to find and remember your site.
- Web hosting: Hosting is where your website’s data and content are stored. Choose a provider known for reliability, speed, and compatibility with WordPress to ensure optimal performance.
- WordPress theme: A theme dictates the design and layout, shaping how users interact with your site. Both free and premium themes are available, offering options that suit various aesthetic and functional preferences.
- Plugins: Plugins enhance your site’s features, from security to SEO and e-commerce capabilities. Select only what’s necessary to avoid slowing down your site and to keep it efficient.
- Content: The words, images, and multimedia on your site inform and engage visitors. Focus on creating clear, relevant content that aligns with your brand’s goals and audience expectations.
Each of these elements contributes to a complete, polished WordPress website designed for effectiveness and ease of use.
12 Steps to Building a WordPress Website
Developing a WordPress website requires proper planning and patience. You must be meticulous and ensure that your strategies align precisely with your goals.
Follow this detailed step-by-step process to create your WordPress website:
- Set the purpose of your website
- Determine what kind of website you’re creating
- Pick your website’s domain name
- Get a website host
- Register your domain name
- Install WordPress
- Point your domain to your host
- Select and install a WordPress theme
- Install the necessary WordPress plugins
- Set up your web pages and add the menu
- Configure the general settings
- Set the permalink structure
1. Set the Purpose of Your Website

Have a well-defined purpose. A website can have multiple goals to achieve, including the following:
- Showcasing your talent
- Finding clients for your services
- Sharing educational materials
- Online marketing services
- Earning money online
Identify the purposes that resonate with you and add your unique goals for your site. Defining your website’s purpose is crucial before building one to minimize potential mistakes. Since creating a website is a big project, you should take the time to set your goals, so you can effectively veer from common pitfalls that may hamper your workflow.
2. Determine What Kind of Website You’re Creating

Determining the type of website you plan to create is a crucial starting point. Begin by clarifying its purpose — whether it’s a blog, eCommerce store, portfolio, or corporate site — as each serves unique functions and audiences.
For instance, eCommerce sites need features like shopping carts and product pages, while portfolios emphasize showcasing visual content. A blog typically focuses on delivering articles and requires a clean, accessible layout for easy navigation.
Knowing the purpose of your website will guide design, layout, and functionality choices, ensuring that the setup aligns with user expectations and business goals.
3. Pick Your Website’s Domain Name

A memorable domain name contributes to a successful online presence. However, there is a chance that your chosen domain name may already be taken, so it’s wise to have backup names.
Go through the brainstorming process carefully, as your website is a critical part of your brand identity and reputation. When you decide on a name, it must match your brand and its values.
Consider these when choosing a domain name:
- Your domain name should be easy to recall, recognize, and claim.
- It has to be as precise and short as possible.
- Try to keep away from numbers and hyphens.
- Ensure it identifies your brand.
Make sure to finalize it to avoid having to switch domain names after your business page goes live. Changing your domain name later can create confusion and disrupt your online presence.
4. Get a Website Host

The next step is to purchase a hosting plan. Hosting is where all your website data will be stored and organized.
Ciril Sreedhar, Project Manager at Sreyas IT Solutions, recommends: "Select a dependable hosting provider to guarantee maximum speed and uptime."
Best Web Hosting Options
Several managed WordPress hosting providers offer robust data security and backup options. Consider the following popular and efficient website hosts according to your business site’s needs:
- Bluehost: The official partner of WordPress, Bluehost offers best-in-class hosting services to business and professional users. It supports automated updates and web management tools for enhanced user experience (UX).
- WP Engine: One of the older managed hosts of WordPress, it provides dedicated, shared, and cloud-based hosting services with high-quality security. WP Engine is especially great for hosting several WordPress websites that get traffic.
- HostGator: HostGator is an affordable hosting provider that offers speed, security, and unlimited email addresses.
- Cloudways: With Cloudways, you get the latest MYSQL database and PHP versions.
- Kinsta: While relatively pricier than other hosting choices, Kinsta is a great option if you seek user-friendliness. This powerful managed host for WordPress offers auto-scaling to handle unexpected traffic spikes.
- Hostinger: It is a cost-efficient choice for hosting multiple sites.
- GreenGeeks: It is best for eco-friendly entrepreneurs and website owners.
- Nexcess: This is an effective hosting platform for website staging.
- SiteGround: SiteGround allows you to migrate your eCommerce shops easily and quickly.
- Flywheel: This is another web host that offers easy website migration.
- ScalaHosting: This hosting provider gives the most freebies for WordPress websites.
5. Register Your Domain Name

A web host runs the servers that host your websites, while a domain registrar specializes in buying and registering domain names. Although most web hosts offer domain registration for convenience, often at a higher price, it is advisable to buy domains from specialized registrars to simplify future maintenance.
Here is a list of domain name service providers where you register your website name:
Since these sites specialize in domain registration, they have stronger credibility, better control over your URL structure, and improved SEO features.
To check the availability of a domain name, simply visit these domain name registration websites and key in the domain name you want to buy in the search bar.
6. Install WordPress

After successfully buying your domain name and hosting plan, the next step in creating your WordPress website is downloading and installing it on your server.
The steps are generally similar across all hosting providers. They are as follows:
- Head to your host’s landing page and navigate to the login section.
- Enter your account ID and password.
- Once logged in, select the option for WordPress to get started.
- Proceed to install WordPress on your website.
- You will be rerouted to the host’s dashboard. Here, you can activate your website by clicking “Launch Your Site” or choose to save it for later.
If you select to launch instantly, your WordPress site will be marked as “published.”
7. Point Your Domain to Your Host

At this point, here’s a quick recap of how far you are into building a WordPress website:
- You have bought and registered a domain name.
- You have completed the signup process for a hosting plan.
- You have installed WordPress on your web host.
Now, it’s time to put them together by pointing your domain to your host. This way, when people enter your URL web address, they will be redirected to your website. Make sure your hosting provider has provided you with the correct “nameserver” settings. You can check and configure these settings at your domain registrar.
8. Select and Install a WordPress Theme

Your website design speaks volumes about your brand and your company’s integrity. Many online users may judge a business’s credibility based on its website design. That’s why it’s vital to choose the WordPress theme most suitable for your website structure, business type, and branding.
A WordPress theme impacts content presentation and UX, which are crucial for SEO; it dictates the site’s layout, design, and functionality, affecting how easily users and search engines can access and interpret the content.
You have two options:
- A premium or paid theme
- A free WordPress theme
Both options are available in different marketplaces and offer versatility. WordPress itself has a wide range of themes that you can find under the “Themes” section.
If you’re just starting WordPress, you may opt for a free theme. However, as your site evolves and becomes more complex, it is recommended to use a paid theme. With a paid version, you gain more freedom to customize, flexibility, and functionality options.
After finding your preferred theme, here’s how to activate it:
- Navigate to your WordPress dashboard.
- Go to the “Appearance” section.
- Click on “Themes.”
- Download file.
- Activate.
Now that you’ve uploaded and activated the theme, it’s time to customize it to spruce up your site’s appearance and make navigation more convenient for visitors.
Tim Volner, CEO at Poieo Dev, emphasizes that: "UI/UX and site performance should be the two key considerations when building a WordPress website, which also helps improve SEO."
Derek Robinson, Chief Marketing Officer at Top Notch Dezigns, also adds: "Page loading speed is of utmost importance, because a slow-to-load WP website fails to deliver a good UX and falters on the SEO front, too."
Proper theme selection ensures better mobile responsiveness, faster loading times, and optimized on-page SEO elements, which can significantly enhance search engine ranking and user engagement.
9. Install the Necessary WordPress Plugins

After customizing your web design, the next step is to install user-friendly plugins based on your website needs, business type, industry, and niche to improve its functionality.
According to Arif Gangji, President and CEO of Neon Rain Interactive: "Choosing the right builder and plugins for a WP site is crucial to avoid bloat, speed issues, and security risks."
Fabricio De Felippe, CEO of Tuxdi, agrees and adds: "Clearly understand the features and functionality you need, and whether a plugin supports these or if you need custom development."
With over 55,000 WordPress plugins available, you should install the most useful ones according to the purpose and requirements of your business pages. Here are some beneficial plugins to consider when creating your WordPress website:
- Yoast SEO (Free): This set of optimization tools helps boost your website’s position in search engine results pages (SERPs). It also allows you to add OpenGraph data and XML Sitemaps, making it easier to create and post SEO-friendly pages.
- Security Plugin (Free and Pro): This plugin secures your website from malware threats and attacks, among other cybersecurity issues and intrusions. An example of this kind of plugin is Securi.
- W3 Total Cache (Free): This plugin enhances server performance, reducing page load and download times significantly. Also, alongside Yoast SEO, it helps advance your rank on search pages.
- Elementor Page Builder (Free and Pro): Elementor enables you or your WordPress outsourcing provider to design web pages without coding. It offers a variety of user-friendly tools for live and visual page building.
- Google Analytics Plugin (Free and Pro): Use analytics plugins like Analytify and Jetpack to monitor your site’s performance and gain insights into user behavior.
- Backup Plugin (Free and Pro): A backup plugin, such as Updraftplus, is an excellent solution for downtimes, crashes, and unusual activities on your site.
- WP User Frontend: With this plugin, you can create profiles, product descriptions, contact forms, and customer posts. It also lets you manage subscriptions to your updates effortlessly.
- WP Project Manager (Pro): This plugin allows you to manage your teams, tasks, and projects through collaborative work.
- weMail: With weMail, you can send newsletters and other automated emails. Additionally, you can automatically collect leads and add subscribers to your list on your WordPress dashboard.
10. Set Up Your Web Pages and Add the Menu

Your site’s structure will vary depending on your brand. From this structure, you can build web pages. Begin with the basics, such as:
- Homepage
- About page (Company profile, mission, vision, and goals)
- Products and services page
- Gallery page (portfolio and customer feedback)
- Contact page
- Blog
Follow the same process to create each page:
- Navigate to the “Pages” section.
- Click on “Add new page.”
- Set up and configure the specific page.
- And then publish the page.
To create a menu for every web page:
- Go to “Appearance.”
- Create a menu.
- Set up and update.
- Save menu.
Well-arranged web pages and menus are factors for excellent navigation and overall UX.
11. Configure the General Settings

After completing the preceding ten steps, customize your WordPress website’s general settings to help run it smoothly.
Navigate to “Settings,” and then click on “General.” In this section, you can:
- Enter your website title
- Add a tagline that summarizes your site’s purpose
- Edit your site address to match your URL
- Key in an email address for receiving notifications
- Update user roles and permissions
- Format the time zone and date
Next, click the “Writing” option to set up the post categories and their default format. Under the “Reading” section, tailor how you want each web page displayed on the end-user’s interface. Tick what you want to show on:
- The homepage
- Every blog post
- Post summaries
- The SERPs
12. Set the Permalink Structure

Setting the permalink structure is essential for improving both user experience and SEO. Permalinks, or permanent URLs for your pages and posts, should be easy to read and reflect content accurately.
Start by navigating to the settings in WordPress, where you can select from various formats, such as including the post name or adding a category. Choosing a clear, descriptive structure like “Post Name” instead of default numeric links makes it simpler to understand what a page is about before clicking on it.
Additionally, a well-structured permalink enhances search engine rankings by providing context to search algorithms. This foundational step helps ensure your website remains organized, professional, and optimized for visibility.
How Much Does Building a WordPress Website Cost?
The average cost of building a WordPress website typically ranges from $500 to $5,000 for a standard setup, depending on the level of customization, complexity, and specific features desired. Basic websites using pre-made themes and minimal plugins fall at the lower end, while more custom designs and eCommerce capabilities drive costs higher, especially for unique branding, premium themes, and advanced plugins.
Standard expenses include domain registration ($10 to $20 per year), web hosting ($50–$1,000 annually), and basic security measures such as SSL certificates. Additionally, premium themes may cost $20–$200, and plugins range from free to $300 per year for added functionalities.
For a fully customized, feature-rich website, businesses may also factor in potential developer fees, which vary based on hourly rates or project scope.
Tips and Best Practices for Building a WordPress Website
When you build a WordPress website, following key tips and best practices can greatly enhance usability, performance, and overall visitor experience. Starting with a solid foundation and gradually adding essential features will help you create a balanced and efficient site.
Take a look at the following tips to ensure your site is effective and user-friendly:
1. Prioritize User-Friendly Design
Focus on a clean, intuitive layout that makes it easy for visitors to find information. Navigation menus should be simple, with clearly labeled sections and logical page arrangements. A straightforward design promotes better engagement, guiding users smoothly through the site.
2. Optimize for Mobile
A lot of users access websites from mobile devices, so it’s only smart to optimize a site for mobile. Responsive design ensures content adjusts to various screen sizes, improving accessibility. Testing on multiple devices confirms that the site maintains functionality across different platforms.
3. Enhance Site Speed
The site’s speed affects both user experience and SEO rankings, making optimization crucial. Start by compressing images, minifying CSS and JavaScript files, and limiting plugins to essentials. Regularly check load times to keep performance high and minimize bounce rates.
4. Implement Strong Security
Security is vital for protecting both site data and user information. Enable SSL certificates and install reputable security plugins for added protection. Consistently update WordPress, themes, and plugins to prevent vulnerabilities and ensure ongoing safety.
Key Takeaways on Building a WordPress Website
When building a WordPress website, apply David DeLeon’s, Founder of KingsGuard, advice:
- Understand demographics, interests, and browsing behaviors to guide design and content.
- Clearly define your goals, whether it’s sales, showcasing work, or community building.
- Ensure smooth navigation, readable content, and quick load times.
- Create engaging blog posts, videos, and interactive elements to boost SEO and credibility.
- Select a theme that matches your brand, focuses on responsive design, and avoids clutter.
- Protect your site with strong security and regular backups.
- Increase visibility with keyword optimization, meta descriptions, and linking strategies.
- Maintain fast load times and smooth functionality with regular updates and optimizations.
- Use analytics to monitor traffic and user behavior for ongoing improvements.
- Ensure the site is usable for all, including those with disabilities, with features like alt text and keyboard navigation.
Remember that building a website does not stop at its activation and launch. You have to keep evolving your WordPress website and update it with content regularly, so it's continually optimized for search engine visibility.
![]()
Our team ranks agencies worldwide to help you find a qualified partner. Visit our Agency Directory for the Top Web Development Companies, as well as:
- WordPress Development Companies
- AI Web Design Agencies
- Top UI/UX Design Agencies
- Top eCommerce Companies
- Top Boston Web Developers
Our design experts also recognize the most innovative design projects across the globe. Visit our Awards section to see the best in web design.


-preview-webp.webp)